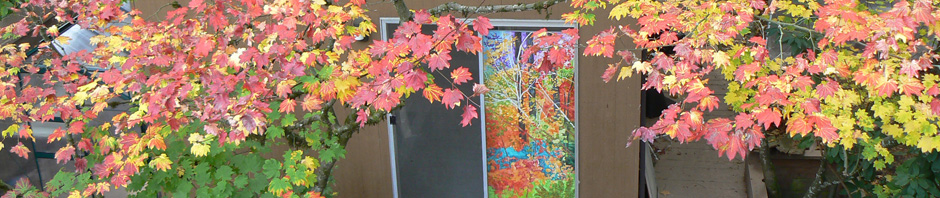
The word “bloom” has both good and bad connotations for watercolorists. The “good bloom” is exciting and adds much to the painting and the “bad bloom” detracts. Controlling both gives you the ability to paint with confidence.
GOOD BLOOM
I paint with transparent and semi-transparent watercolors and I use the bloom on each petal of a flower, leaf, tree trunk and sky area. The bloom will be more apparent in the larger areas, but even in the small areas, they will glow. I paint wet on dry paper, which means that I paint the color on a leaf, for example, wait until the paint just loses its glistening wet look, then I touch the middle of the leaf with a clean drop of water. This disperses the paint to the edges of the leaf and gives it a glowing dimension. If I wait too long and the paint totally dries, it isn’t nearly as vibrant.
LARGE AREAS
Larger areas are a little more difficult, so I work slowly and decide where I want the most blooms and excitement. This time I use larger drops of water and can imitate clouds in the sky or more subtle repetitions of the foreground images.
ELIMINATE BACK-FLOW BLOOMS
When the paint dries at the edges of the painting, it pushes the color inward and a messy bloom appears where you don’t want it. I solve this problem by cutting a five-inch wide strip of blotter paper, fold it in the middle, and place the edge of the watercolor paper touching the fold, being careful not to let the blotter paper touch the rest of the painting. This draws the paint downward and the paint dries evenly.
NEXT TIME – PAINTING WITH THE NEW SLOW-DRYING ACRYLICS
